With Gallery for Lightroom it is possible to export a complete gallery as a single GLR file. GLR files can be stored in the cloud and downloaded to one or more iPads.
GLR files give you an alternative approach for importing galleries to your iPad and allows you to publish galleries that can be downloaded by others.
GLR files can be used with services such as DropBox, Google Drive, iCloud and e-mail. On this page we look at the worflow for DropBox, but the same basic workflow can be used with other services.
Gallery for Lightroom is designed to showcase galleries that have been prepared in Adobe Lightroom. One way to achieve this is to create a Lightroom collection for a gallery and to export this collection to a single GLR file using the GLRFile plugin.
Subsequent changes to the gallery can be made in Lightroom by modifying the collection, and the modified collection can then be re-exported to a GLR file.
The following is a typical workflow for creating a collection and exporting it to a single GLR file. This file is then send to an iPad and imported into Gallery for Lightroom. In this example we will create a new gallery called Examples.
This example uses screenshots from an iPad. The steps for an iPhone or iPod Touch are the same, but the screen dialogs are different.
Step 1: Create a Lightroom Collection
- Assuming that the images to be included in the gallery have been uploaded to Lightroom and processed, create a collection called Examples and add the images to this collection.
- If necessary, add metadata to the images in the collection. See here for details of the metadata used by Gallery for Lightroom.
- Arrange the images in the order that they should be displayed in a slideshow in Gallery for Lightroom.
Step 2: Export Images
-
In Lightroom, open the collection Examples and select all the images. From the File menu click Export... and
select GLR File from the dropdown menu Export To:
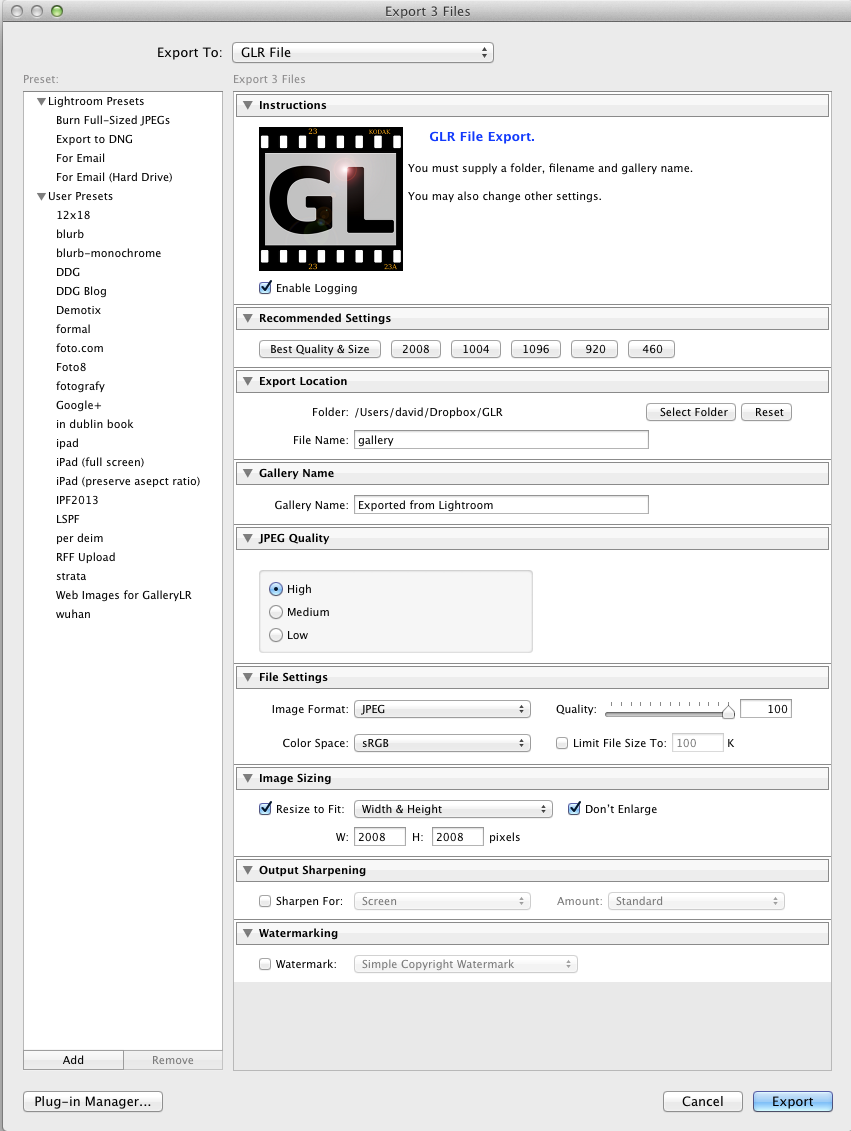
- Using the Export Location options, select the folder and filename for the exported file. The extension .glr will be added automatically. To export to DropBox select the Dropbox folder on your machine.
- Using the Gallery Name option, select a name for the gallery. This name will be used as the gallery name in Gallery for Lightroom on the iPad.
- The Quality options can be used to select the type of display and JPEG quality for the images to be exported; see Exported Image Quality for more details. The quality settings will determine the size of file produced. This is particularly noticeable with galleries that have a large number of images. If your files are very large, if possible, avoid using the high JPEG Quality option.
- If required, change the Output Sharpening and Watermarking options.
- You may also change the File Settings and Image Sizing options directly, but this not recommended.
- Click Export.
- In this case, the file /users/david/Dropbox/GLR/gallery.glr will be created and automatially shared via DropBox.
Step 3: Locate the GLR File on an iPad
-
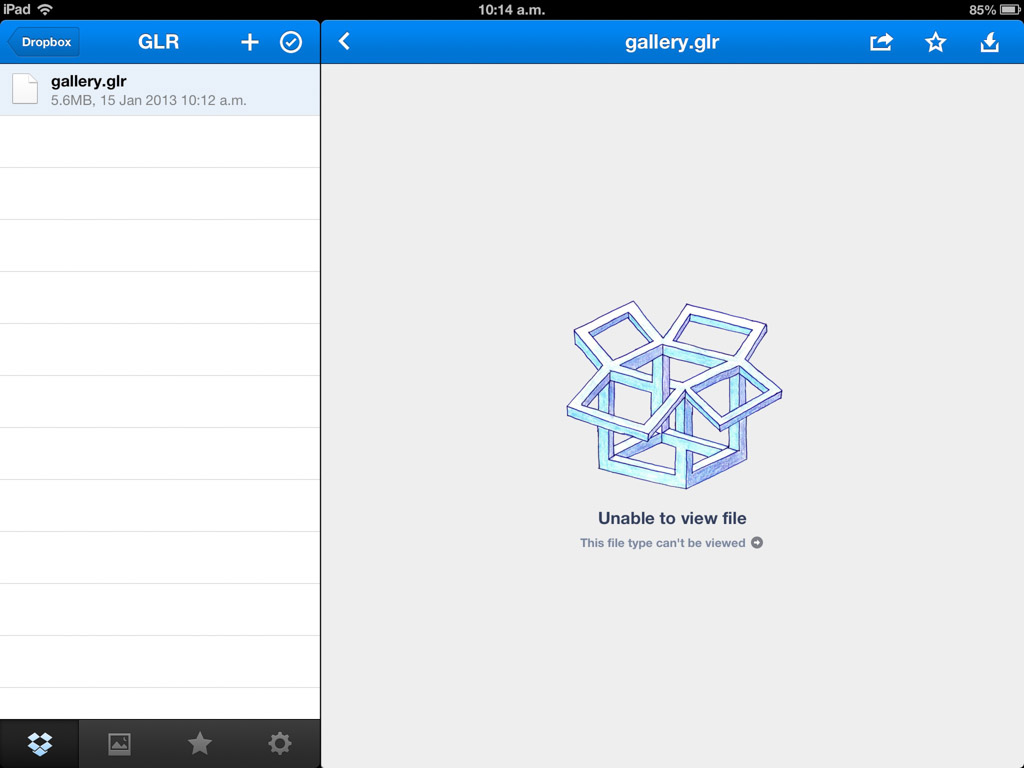
On an IPad, open DropBox and locate the GLR file.
Step 4: Open the GLR File
-
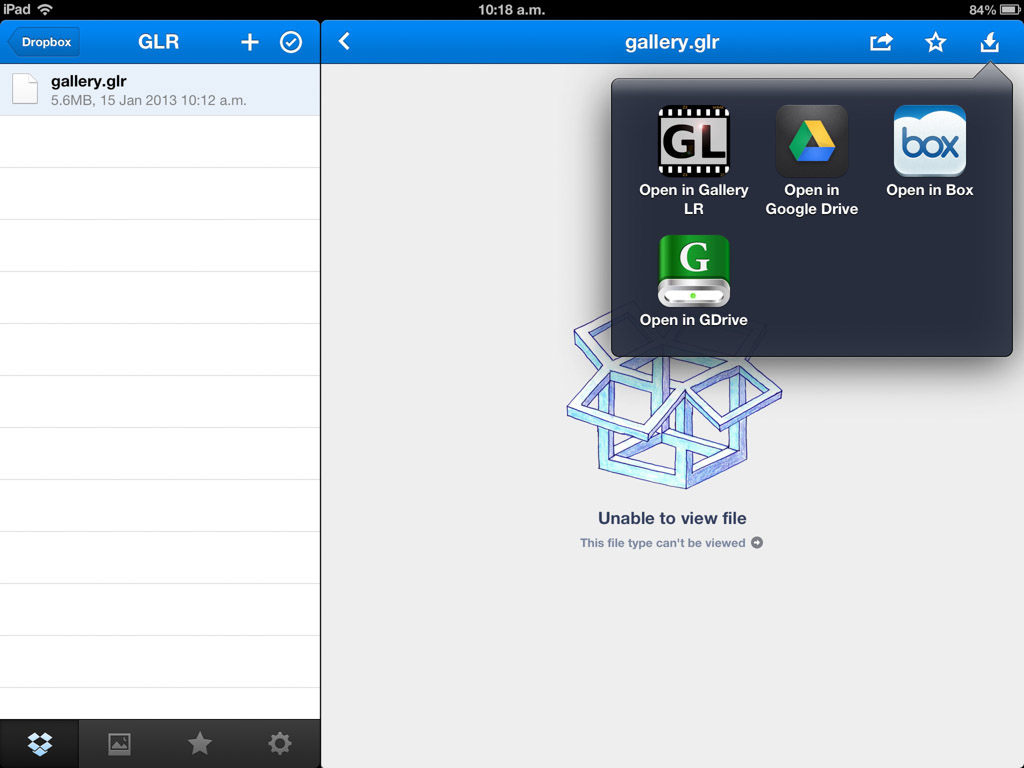
In DropBox, open the file with Gallery for Lightroom.
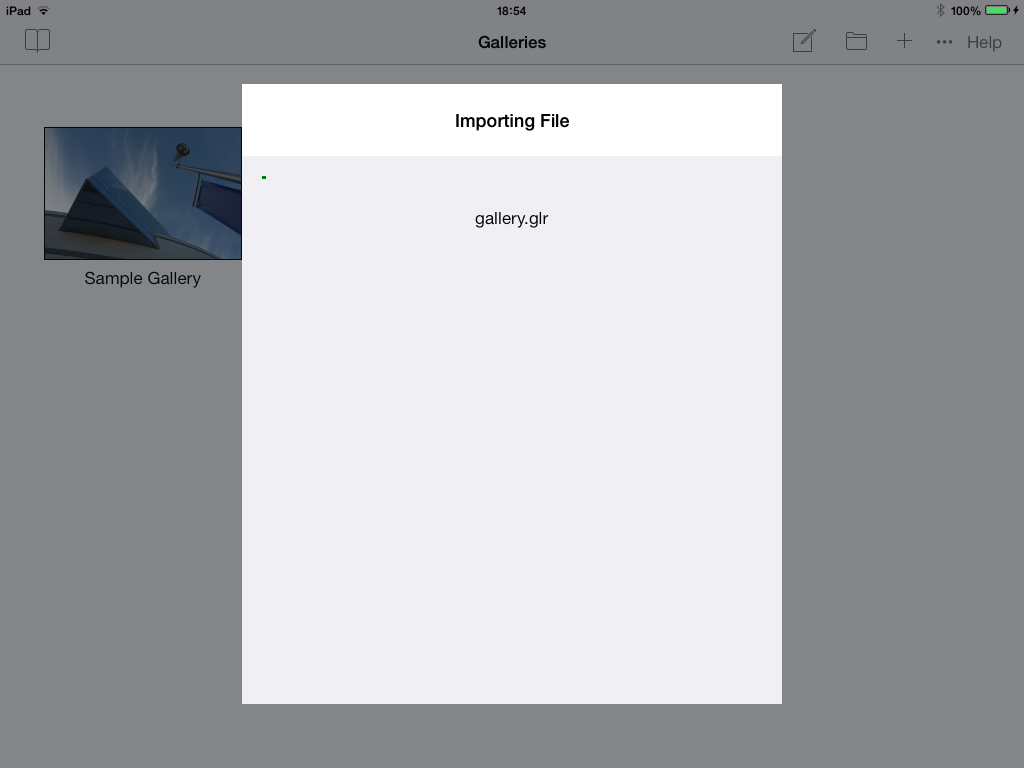
Step 5: Importing to Gallery for Lightroom
-
The GLR file will be automatically opened in Gallery for Lightroom and the gallery will
be imported.
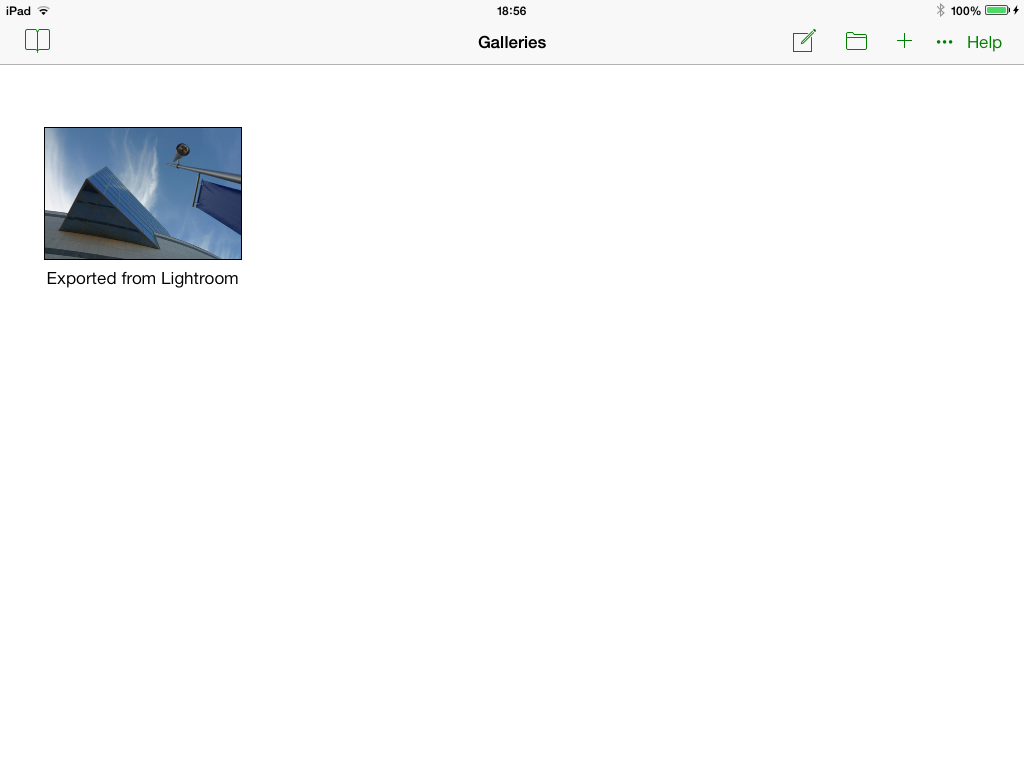
Step 6: The Imported Gallery
-
After the import has completed, the new gallery will appear in Gallery for Lightroom
with the name given in the export dialog above. In this case the name is Exported for Lightroom.